

Hair Care
Achieving Perfect Curls: Step-by-Step Tutorials
Oct
Want to know how to achieve perfect curls?
There are a few different ways in which you can do this, depending on the styling tools that you have on hand. Read on as Nubi shares three step-by-step tutorials for creating perfect curls with a curling wand, a hair straightener, and a hot brush.
Prepping Your Hair
Before you start curling, you’ll need to prep your hair. Ideally, your hair should be relatively clean, although it doesn’t need to be freshly washed. It can sometimes be easier to curl second-day hair, thanks to the presence of your hair’s natural oils giving your strands some extra grip.
If you do decide to wash your hair before curling it, make sure that it’s 100% dry before you begin. Using heated curling tools on even slightly damp hair can end up causing some serious damage!
Finally, always apply a heat protectant to your locks before you heat style them. This will form a barrier between your hair and the heat, protecting your strands from damage. It’s often easier to apply a heat protectant while your hair is still damp, even if you don’t plan on curling it that same day.
Now that your hair is prepped, let’s start curling!
Creating Perfect Curls With a Curling Wand
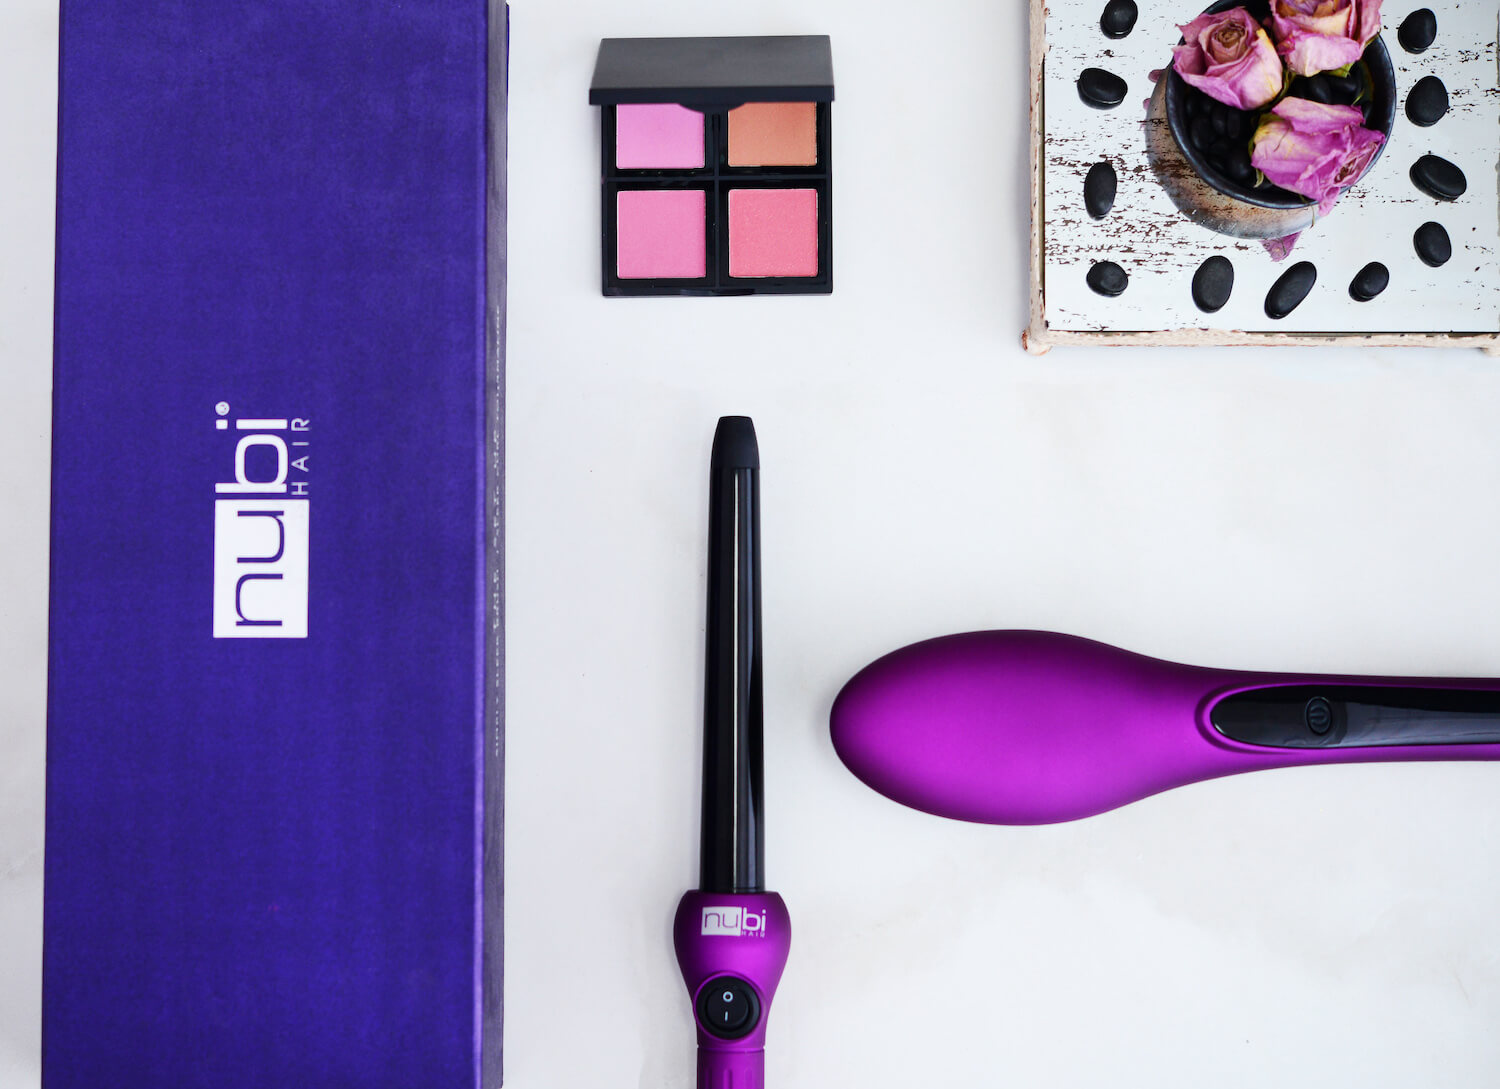
With curling wands designed specifically for curling hair, this is the most obvious tool of choice to use if you’re trying to craft luscious curls. Unlike a curling iron, which creates retro-looking curls, a curling wand is ideal for curls that are a little more relaxed. However, a curling wand is still extremely versatile – whether you want loose, beachy waves or tight ringlets, a curling wand will help you get there!
For even more flexibility, pick a curling wand with a tapered barrel, such as the Nubi Sleek Curl clipless curling wand – it can be found in The Set Up. With a 3/4-1” barrel, you’ll be able to create tight curls, looser curls, and curls of varying sizes. The ergonomic, featherweight design of this wand also makes it extremely easy to use, even if you’ve never handled a curling wand before!
Step 1: Section Off Your Hair
The first step when trying to achieve perfect curls is to section off your hair. The size of the sections that you use will help to determine how tight or loose your curls are. For wider curls, work with sections that are around 1.5” in size. Meanwhile, for tighter curls, go with 1” sections.
Step 2: Start Curling
Take one section of your hair and hold your flat iron vertically against it, with the tip pointing downward. Wrap your hair around the wand, starting at the base of the barrel and working your way up. Be careful not to touch the wand with your hand while you’re doing this! Leave about 1” of the ends of your hair untouched to give your curls a more natural-looking finish.
Once wrapped, hold your hair against the barrel for a few seconds. The thicker and coarser your hair is, the more heat exposure it will need. However, too much will burn your locks. So, if you’ve never curled your hair before, start by holding it in place for about three or four seconds and then increase this as you work if your hair isn’t curling in the way that it should. With that said, aim to keep eight seconds as your maximum.
Then, release your hair from the wand. For extra hold, don’t allow your newly formed curl to immediately bounce down. Instead, cup it in your hand as you release it. Wait for that section of hair to cool down before letting it drop.
Step 3: Repeat
Now that you’ve curled one section of your hair, it’s time to repeat the process with the rest of your mane.
If you would like to keep your curls looking natural, alternate the direction in which you curl with each section. For example, if you wrapped your hair toward your face when curling the first section, wrap it away from your face for the next. However, when it comes to the sections of hair that frame your face, always wrap away from your face.
Step 4: Cool and Customize
Once you’re done curling all of your hair, give your hair some time to cool down.
Then, run your fingers through your locks to slightly separate your curls. This will give you a relaxed and naturally tousled finish.
Another option, if you would like to soften your curls, is to run a wide-toothed comb through your hair. This will add volume too. Avoid using a brush when doing this as bristles that are too close together will leave your curls looking fluffy rather than defined.
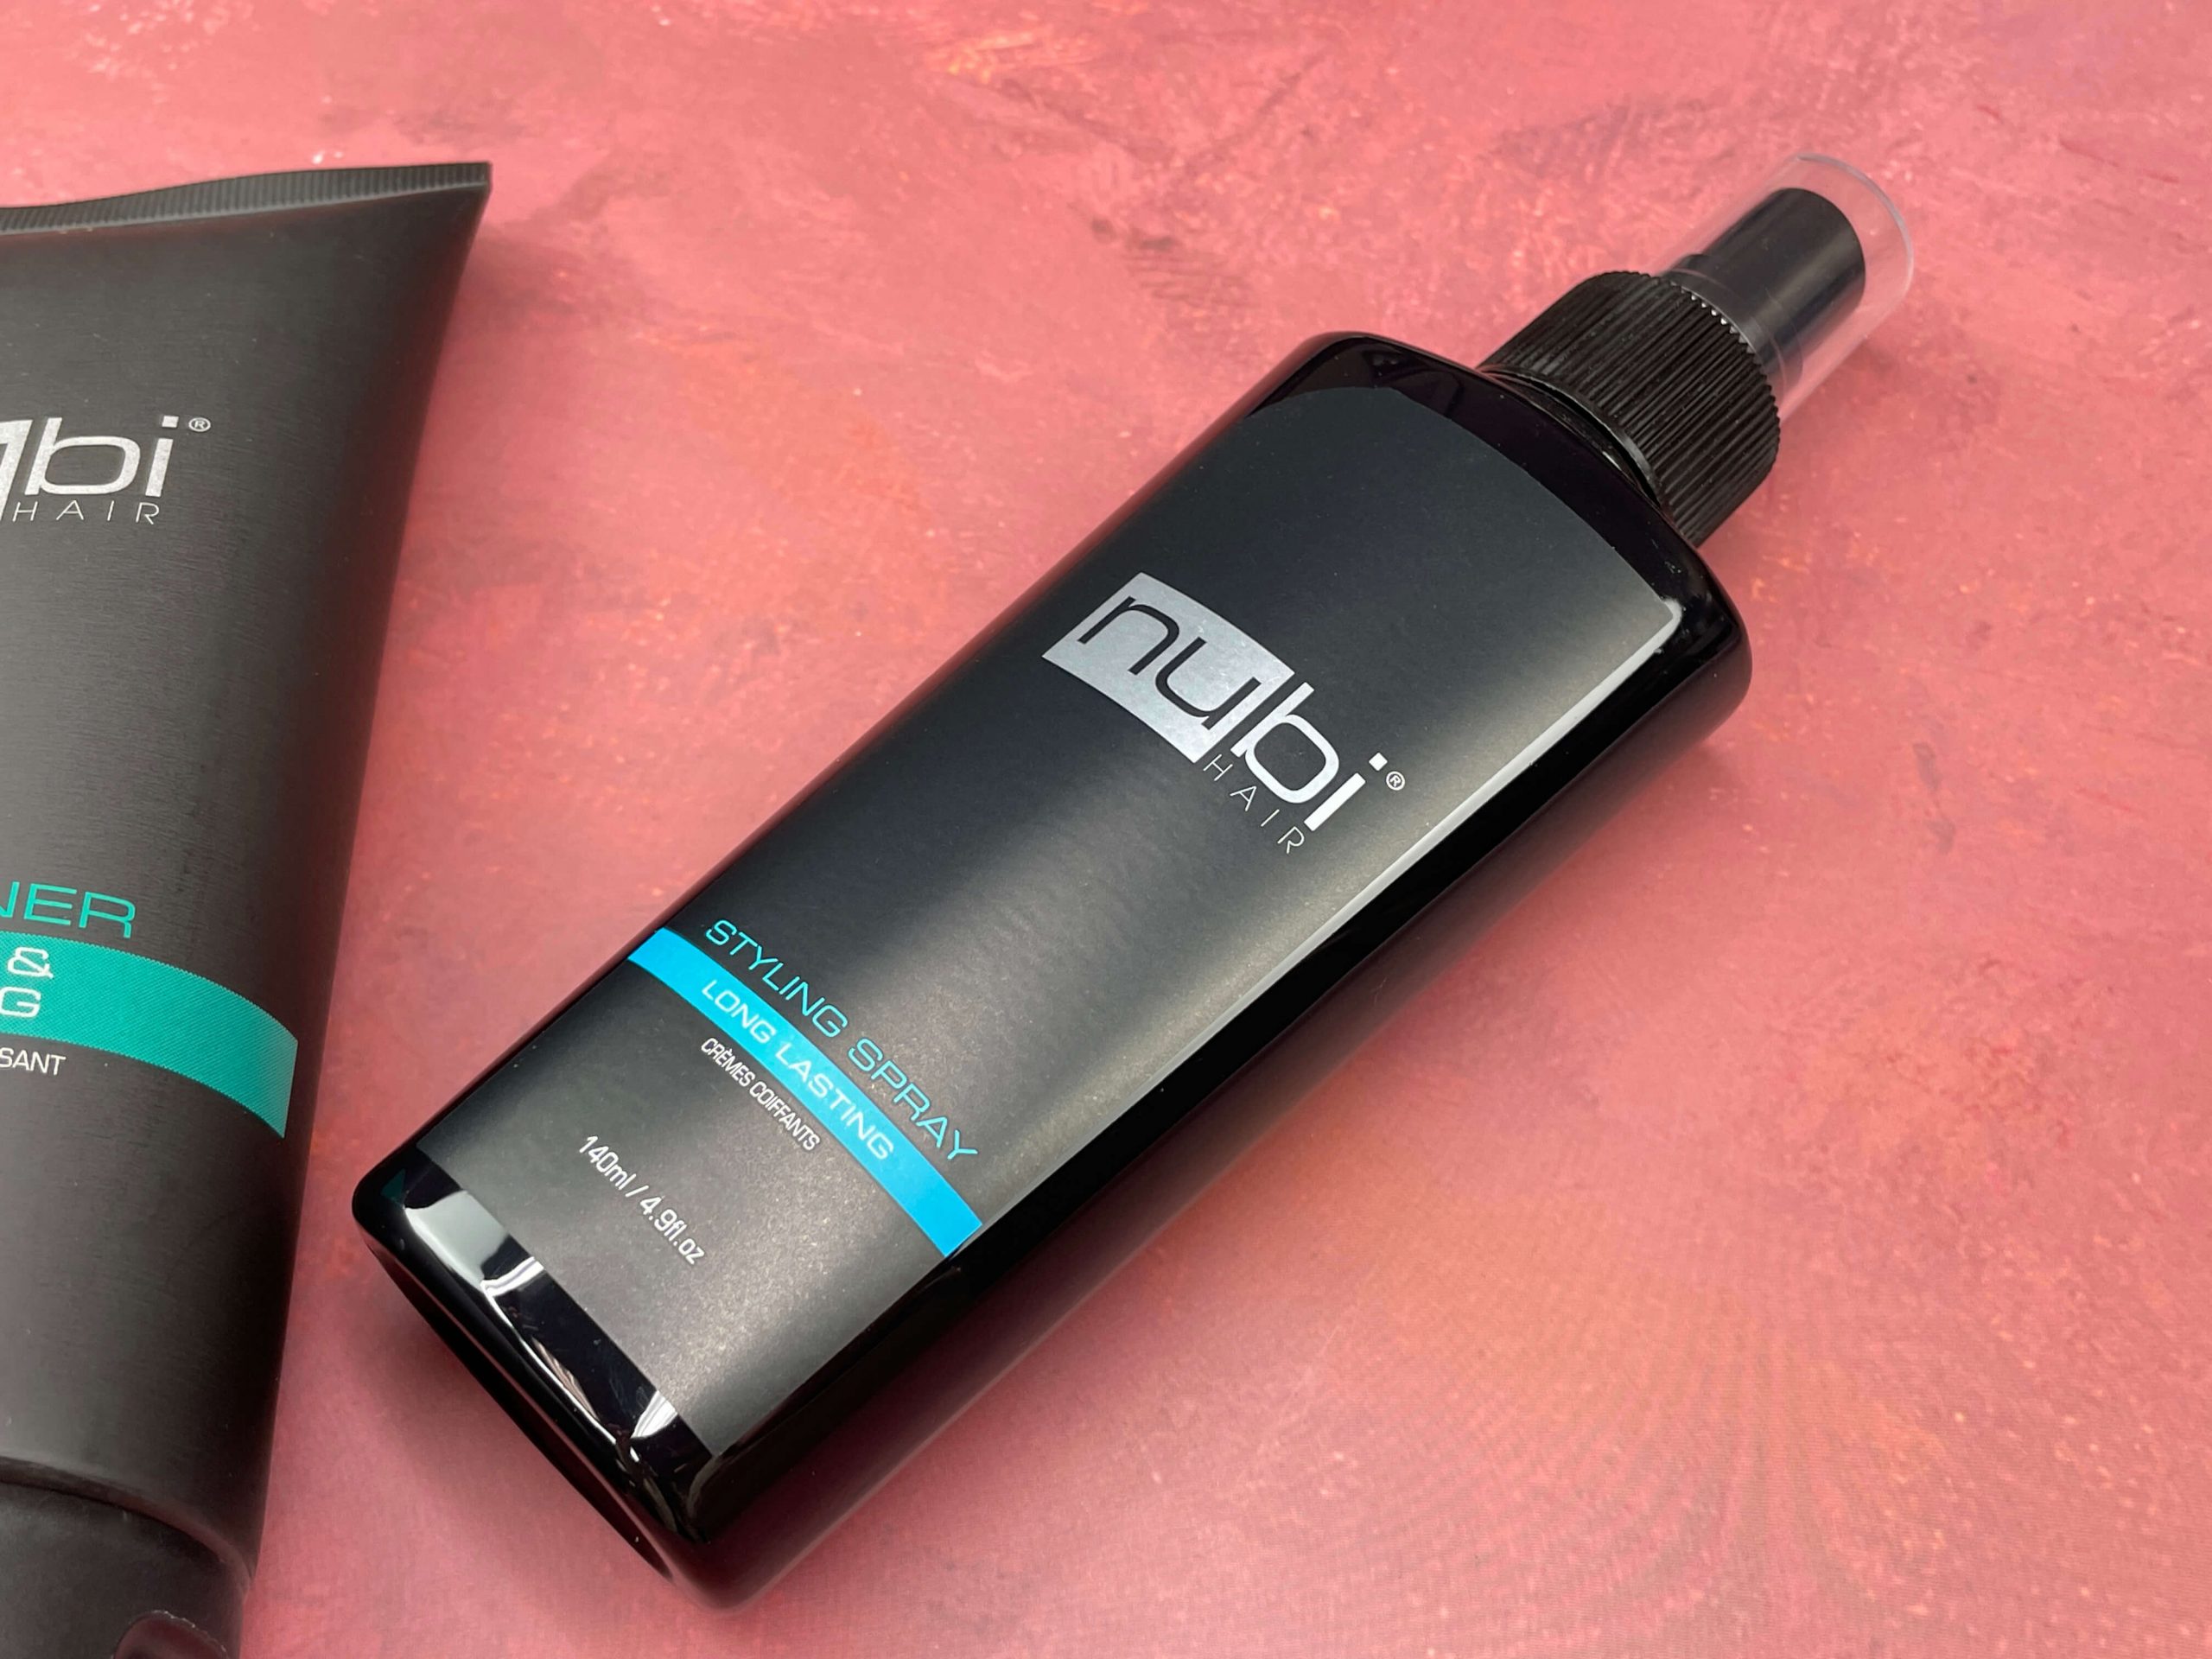
Finally, for perfect curls that last for hours, give your hair a spritz with the Nubi Styling Spray. It will lock your curls in place while also preventing the look of frizz.
Creating Perfect Curls With a Hair Straightener
Although primarily designed to straighten the hair, hair straighteners are such versatile tools. Learn the correct technique and you’ll be able to use your flat iron to curl your locks too, creating everything from tight ringlets to loose waves. In fact, many prefer using a hair straightener to curl their hair because the loose curls that you can create with one often look more natural than those created with a curling wand.
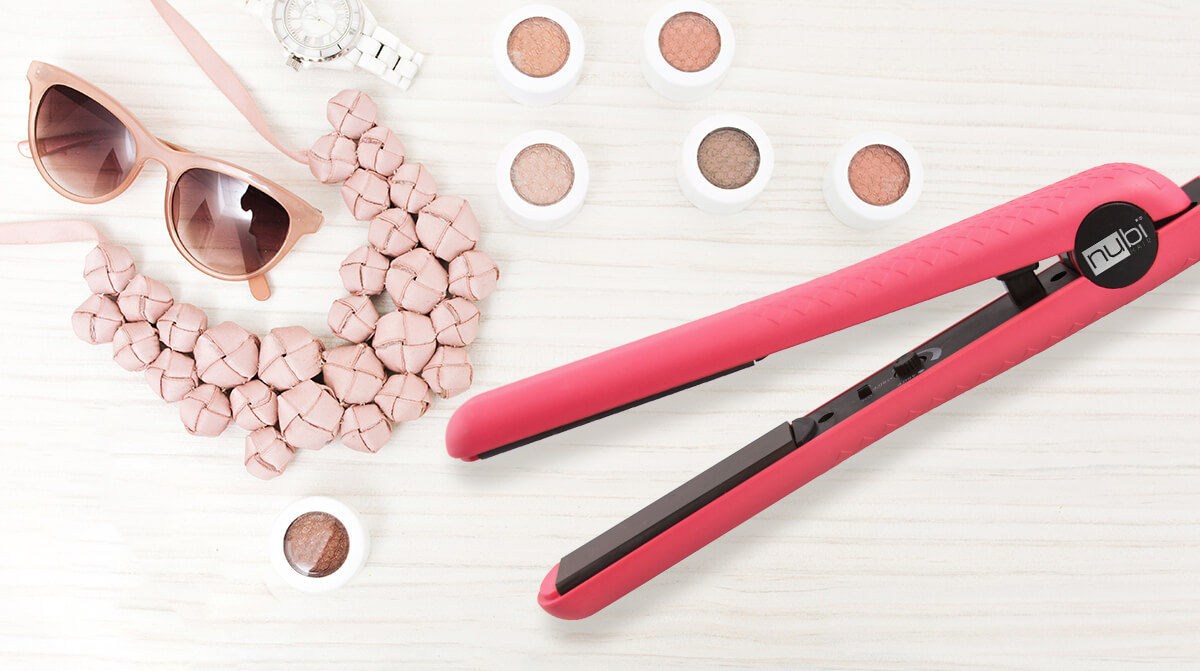
The key to curling your hair with a flat iron is to pick a model that has rounded, rather than straight, edges. This way, you’ll be able to create soft, rounded curls rather than bending your hair into sharp angles. The Nubi Soft N’ Straight 1.25” Ceramic Pink Styler would be a great choice. Its floating plates make it easy to twist your locks into curls while the adjustable temperature control will enable you to style your hair with minimal damage.
Step 1: Section Off Your Hair
Again, just like when using a curling wand, the first step is to section off your hair. Keep the size of your flat iron in mind when doing so – you should be able to clamp down on each section in one go.
Step 2: Start Curling
Start by separating off one section of hair. Clamp your hair straightener down near your roots, just as you would if you were straightening your hair. Then, just like when straightening, start running your flat iron down that section.
However, rather than continuing on until the end, stop when you reach the part of your hair that you would like your curls to start at. For example, if you were creating beachy waves, you would only start curling halfway down the length of your hair.
Once you reach this point, twist your hair straightener a half turn away from your face before continuing to pull it straight down your hair. Release your flat iron once you reach the end and you’ll see that you have created a gorgeous curl or wave.
Step 3: Repeat
You can now repeat that step with the rest of your hair. Again, just like when using a curling wand, alternate the direction in which you twist your flat iron with each section if you would like your curls to look relaxed.
Step 4: Lock in Your Perfect Curls
Once you’ve finished curling every section and your hair has cooled down, run your fingers through your waves to separate them. Then, give them a spritz with a spray to lock them in place!
Creating Perfect Curls With a Hot Brush
A hot brush is another tool that you can turn to when you want to create perfect curls. They won’t be quite as defined as those formed with a curling wand or a hair straightener but if you’re aiming for loose and natural-looking waves, then this will be perfect.
Our hot brush of choice would be the Nubi Simply Sleek Brush. Not only does it offer five temperature settings to choose from but it also makes use of infrared heat and negative ion technology, meaning that it’ll give you curls that look smooth, glossy, and frizz-free.
Step 1: Section Your Hair
As always, begin by sectioning off your hair. When using a hot brush, you may find it easier to start with three large sections (crown, center, and lower), before splitting those sections into smaller pieces that you can easily work with.
Step 2: Start Curling
Take a small section of your hair and lie the ends over your hot brush. Then, twist the brush away from your face, wrapping your hair around it as you go.
Once you’ve reached your roots, keep your hair held in place for a few seconds before releasing that section. You may find that you need to hold your hair against the brush for longer than if you were using a curling wand. However, be mindful of how much heat you’re using – you don’t want to end up burning your strands!
Step 3: Repeat and Finish
Once you’ve finished with the first section and have worked out how much heat your hair needs, you can then move on to curling the rest of your mane.
Finish by separating your curls with your fingers and then applying a setting spray.
Extra Hair Curling Tips to Keep in Mind
Whichever hair tool you choose to use to create your perfect curls, make sure that you spend some time practicing your technique before you actually apply any heat. Keep your hair tool turned off and work on mastering the twisting movements that you’ll need your hands to do. This way, you’ll be able to develop a good technique before involving any heat, saving your strands from damage.
As we mentioned earlier, another way to prevent damage is to avoid using an overly high heat on your hair. Many hair tools now come with an adjustable temperature control, so start with a low heat to see how well your hair curls. If the curl that you create isn’t defined enough, slowly increase the heat until you’ve found a temperature that’s capable of curling each section of your hair without burning or damaging it. Not only will this keep your hair looking healthy but it will also give your curls a smoother and sleeker finish, without any of the frizz that accompanies overheated strands.
Summary
There you have it – three different ways to create perfect curls! With that said, there are plenty of other methods out there too, from S-curls to C-curls to glamorous Hollywood curls. Each will require a slightly different curling method but once you’ve mastered the steps that we’ve shared above, it will be much easier to adjust your technique to accommodate different curl types.
Click here to check out more bestselling hair styling tools from Nubi.