

Hair Care
How to Create Tight, Defined Curls with a Skinny Wand
Jul
Want to know the secrets behind creating salon-worthy tight hair curls?
Read on as Nubi shares the tips you need to know to master your skinny wand so that you can achieve professional-level curls that anyone would be proud of!
Start by Prepping Your Hair
No matter how you plan on styling your hair, some prep work is always essential. This will give you a good foundation to work from, ensuring that your curls look flawless!
Washing and Conditioning
What does the prep work involve? It begins with a good shampoo and conditioner. Your hair curls will look much more defined and structured if your hair is clean to start with. With that said, go easy when applying your conditioner. While you would normally want to slather it all over your locks, limit the amount you use this time. Why? Because a conditioner makes the hair much silkier, which can make it slightly harder to curl.
Applying a Heat Protectant
Once your hair is washed and conditioned, apply a heat protectant. This is absolutely vital when heat styling hair. If you skip this step, you’ll only end up causing damage to your strands. On the other hand, with a heat protectant acting as a buffer, the heat from your curling wand will burn off that layer instead, rather than a layer of your hair. The best time to apply a heat protectant is while your locks are still wet since this is when they’re most permeable.
Drying Your Hair
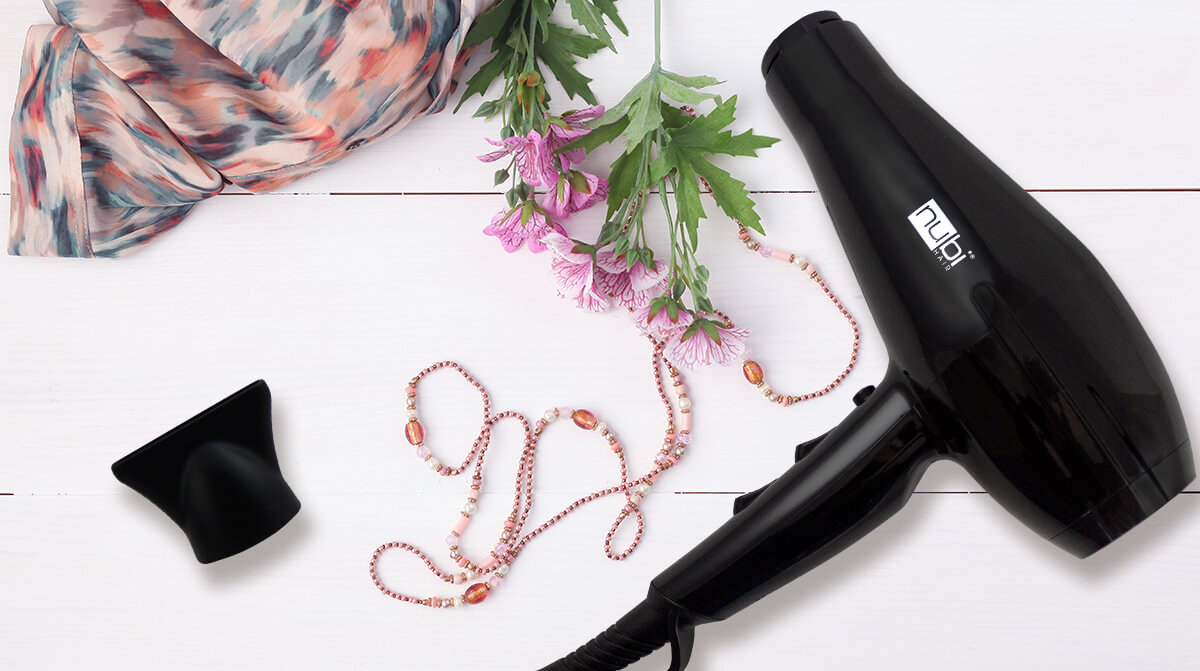
After distributing your heat protectant through your strands, give your hair some time to air dry before finishing the job with a blow dryer. Pick one that has a powerful motor, such as the Blow Me Away dryer from Nubi, as this will speed up drying time. Plus, with three temperature settings, you won’t need to subject your hair to too much heat if your locks are already showing signs of heat damage.
Make sure that your hair is completely dry before moving on to styling your strands. Using a curling wand on hair that’s even slightly damp will only cause long-term damage to your locks. It will also give your hair curls a frizzy and fluffy finish – which you definitely don’t want!
Brush Out Any Tangles
If your hair is very tangled, this is a step that you might want to carry out while you’re conditioning your strands. Big knots and mats are much easier to remove when the hair is wet, with a conditioner giving it some extra slip.
However, for everyone else, a brush-through once your hair is dry should suffice. It’s also safer since hair is much stronger when it’s dry, compared to when it’s wet.
Ideally, you want to make sure that your hair is completely tangle-free. Not only will any knots interfere with your styling methods but they’ll also be more prone to damage.
Use the Right Curling Wand
There are a few things to keep in mind when choosing a wand for tight hair curls. Barrel size is one of the most important. The bigger the barrel, the bigger your curls will be. This is why skinny wands are favored for tight curls and ringlets.
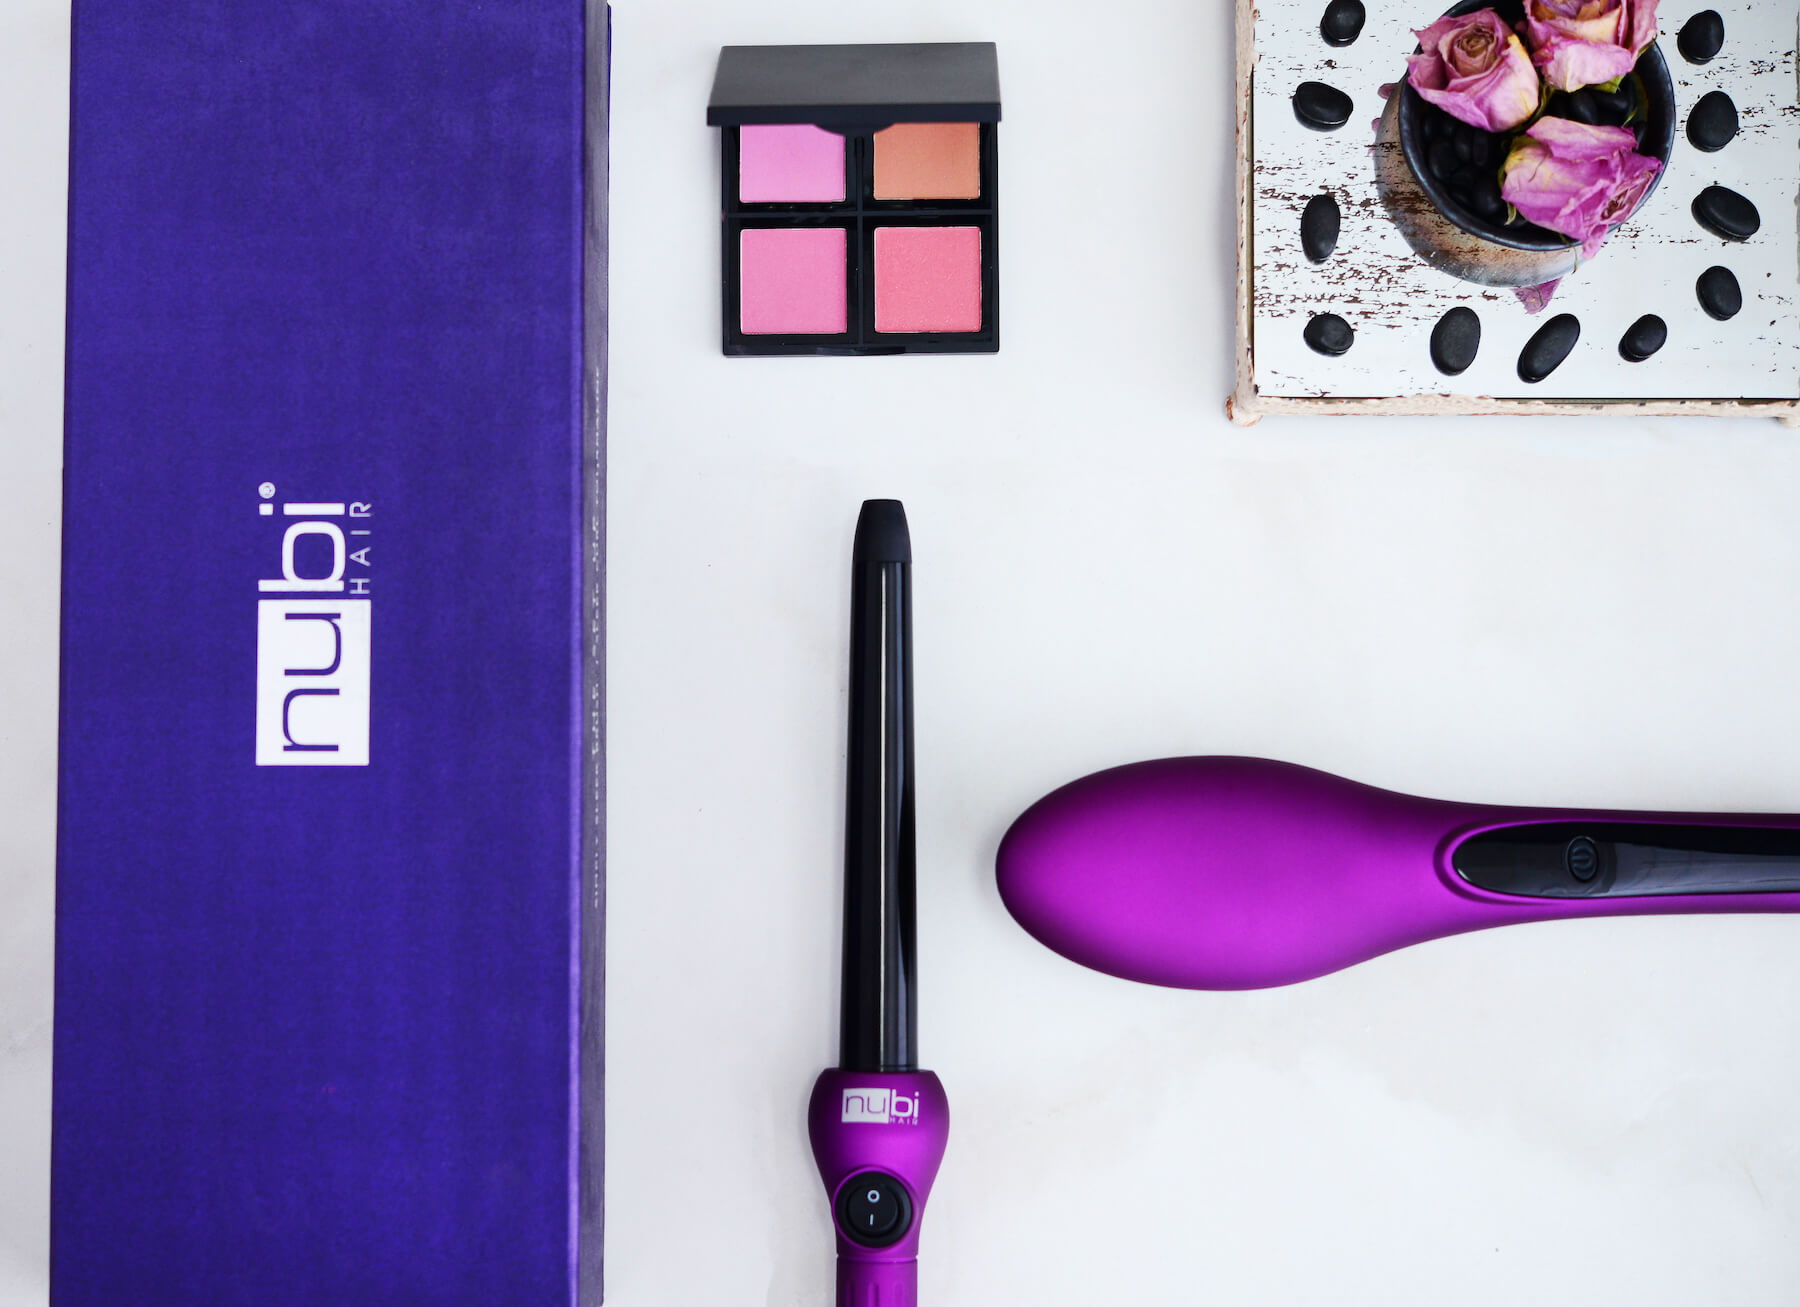
If you don’t yet have a skinny wand, check out The Set Up from Nubi. It comes with our Sleek Curl clip-less wand, which is perfect for creating tight hair curls. Its tapered barrel measures 3/4″-1″. You can either focus your hair on one end of the barrel to keep your curl size uniform or you can utilize the entire barrel to give your hair curls more texture and a natural-looking finish.
You’ll also notice that the barrel of this wand is coated in Teflon. The reason for this is that Teflon provides an almost frictionless surface. This will make your curling experience feel much more effortless. Each section of hair that you curl will feel much smoother and you won’t have to worry about your strands snagging or catching on the barrel.
Divide Your Hair Into Sections
If you want tight hair curls, this means working with small sections of your hair at a time. The easiest way to approach this is to divide your hair into sections before you start curling your strands.
How big should each section be? This depends on the thickness of your hair. Each section that you curl will need to be small enough to fully wrap around the barrel of your curling wand. The sections that you create now can be bigger but need to be a good size for you to easily take smaller sections from.
With each main section that you create, pin it away or tie it back. If you’re tying it, use a silk scrunchie rather than a regular elastic band, as the latter may cause bends in your hair that interfere with the hair curls you’re trying to create. Of course, leave one section down – this is the section that you’ll start with.
Start Curling
You’re now ready to start curling your locks! Separate a small amount of hair from the first section and, holding your curling wand pointing downward at a 45-degree angle, wrap that section around the wand. Start wrapping from the base of the barrel, working your way up to the tip. Make sure that you’re wrapping your hair right from its roots. After all, you don’t want to end up with straight roots and curled tips! For tight and defined hair curls, every inch of each strand needs to be worked with.
Once wrapped, leave that section on the wand for 3-8 seconds. The thicker and coarser your hair, the more contact with the heat it will need. If you don’t often curl your hair, you may need to do some trial and error to see how many seconds it takes for a curl to form in your strands. Either way, once you’ve decided on how long each section of hair needs to be held against the barrel, stick with this for all of your hair. Don’t hold some sections on for three seconds and then others for eight seconds as this will only give you an uneven-looking finish.
Then, gently but quickly unwrap your hair from the barrel. While some may recommend simply pulling the curling wand away from the hair, this will only loosen the curls that you’ve just created. If you want your hair curls to look defined and fully structured, manually unwrapping them is a much better technique to practice. Then, cup that section of hair in the palm of your hand for a few seconds before allowing it to drop. This will give it some time to cool in the curl pattern that you’ve just created.
Alternate the Direction of Your Hair Curls
If you curl the entirety of your hair in the same direction, meaning curling it either toward your head or away from your head, then your finished curls will blend in with each other. There’s nothing wrong with this but it means that your curls won’t look quite so defined once you’re done.
Instead, if you’d prefer a more tousled and textured look, alternate the direction of your curls with each section you work with. Start by curling your hair toward you and then do the opposite with the next section, curling it away from you. By creating these alternating curl patterns, you’ll allow your hair to easily move in different directions. This will give you a much more natural finish.
With that said, there’s an exception to the rule of alternating directions…
Once you start working with the sections of hair that are right against your face, you’ll want to curl those away from your face. This will encourage them to frame your face, rather than falling in front of your eyes and blocking your beautiful facial features!
Separating and Defining Your Curls
Once you’ve curled the entirety of your hair, you may be tempted to run a brush or a comb through your locks. However, this is the last thing that you should do. This will only disturb your curls and contribute to frizz.
Instead, use your fingers to gently pull your curls apart to separate them. Run your fingers through your strands to add volume and texture without mussing up your hard work.
At this stage, it can also be helpful to apply a finishing spray. This will lock each curl in place, giving you hair curls that stick around for hours!
Extending the Lifespan of Your Hair Curls
After all of that hard work, you don’t want your curls to disappear once your head hits your pillow at night. The good news is that there are a few steps that you can take to prolong the life of your new hair curls.
The first is to gently tie your hair into a loose braid or bun before going to bed. This will keep all of your strands in place, helping to preserve the curl pattern of your locks. Sleeping on a silk or satin pillowcase can help with this too, particularly when it comes to reducing how frizzy hair curls can look in the mornings! Alternatively, wrap your hair in a silk scarf before hitting the sack and you’ll have the best of both worlds!
Take care of your curls overnight and, once you wake up, all they’ll need is a small amount of hair serum to refresh them before you’ll be ready to rock another day of curly hair!
Create Flawless Tight Curls With Nubi
If you’ve never curled your hair before, be prepared to put in some time! Mastering a skinny wand and creating tight and defined curls requires a bit of practice. However, follow the tips that we’ve shared above and you won’t go wrong. You’ll be able to create tousled yet structured hair curls that retain their shape and pattern for days!
Click here to enhance your hair-curling technique with more bestselling hair products from Nubi.